In this article
- Delivery Calendar Types
- Delivery Calendar Navigation and Options
- Printing Delivery Calendars
- Update Deliveries Through Sales
- Change Deliveries in Deliveries Feature
Introduction
The deliveries feature allows you to keep track of what items are going out to your customers, when they’re expected to arrive, who is meant to deliver them, and if they ever reached their destination. Correctly filling out delivery information and keeping track of the status will help you keep happy and loyal customers.
There are two ways to create a delivery. A delivery can be an option selected during a sale, this will automatically create a new delivery and is the recommended way to use the delivery feature. You can also manually create a delivery, not associated with a sale, this means that you will have to create a new delivery and add items and information yourself.
Below is a basic flow for deliveries:

Before you start using deliveries, you’ll need to set up your stores’ shipping carriers and shipping methods. You’ll also need to set up delivery categories and statuses if you plan to use InventoryFlo to help you keep track of packages and see what’s going on with your deliveries at a glance. The chart below has a breakdown of things you need to set up to take full advantage of the delivery feature, as well as a list of features you should understand when starting to use deliveries.
In This Article:
- Create a Delivery During a Sale
- Manually Create a Delivery
- View Deliveries
- Update and Edit Deliveries
- Delete Deliveries
Create a Delivery During a Sale
To make a sale a delivery, you must first add a customer to a sale. See the documentation here on adding customers to sales.
Once the customer has been added to a sale, there will be the option for Delivery directly under the customer information. Make sure all of the items and any applicable discounts have been added to a sale and then, click Delivery.
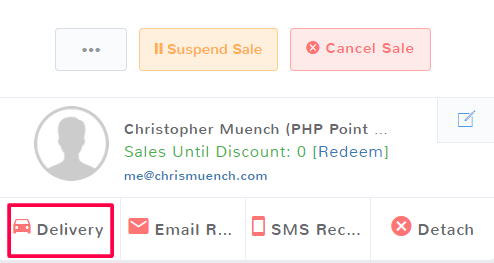
This opens the Delivery page on the Delivery Method tab. Select Delivery under the first tab.

All of the fields below are for information pertaining to your delivery.
Delivery Employee
If the delivery is being handled by one of your employees rather than a shipping carrier, click the dropdown and select the appropriate name.
Tracking Number
If applicable, enter your shipping carrier’s tracking number for the package.
Expected Processing
You can enter the date that you expect to be done processing the delivery order. Click inside the field to see the calendar and clock feature, see the documentation here for more details on how to select dates and times.
Expected Delivery
For record-keeping purposes, you can enter the expected delivery date of the package. Click inside the field to see the calendar and clock feature, see the documentation here for more details on how to select dates and times.
Delivery Comment
This provides an area for any additional information about the delivery.
Status
Click to see all the statuses created for your store and select the appropriate option. See the documentation here for more information on delivery statuses.
Category
Click to see all the categories created for your store and select the appropriate option. See the documentation here for more information on delivery categories.
Duration
This dropdown has 15 minute time increments to choose from starting with 30 minutes and up to 40 hours. This can be helpful if you have an employee doing deliveries and want to mark the expected time it will take for record-keeping purposes.
Once you have filled out the necessary information for the Delivery Method tab, open the Delivery Address tab.
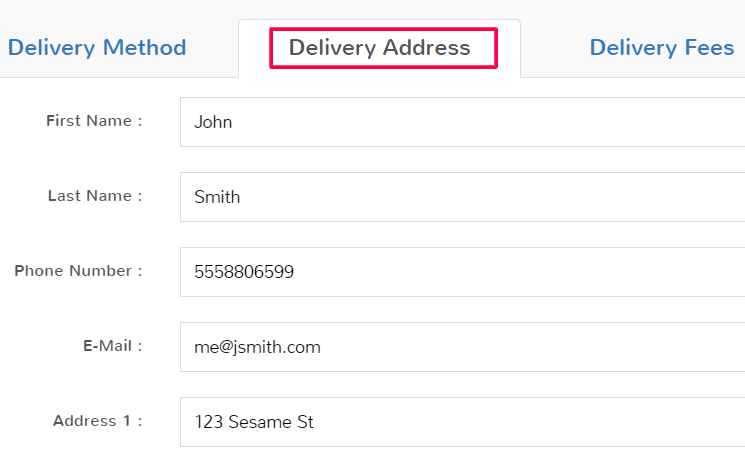
Any information filled out in the customer profile will autofill in this section. If the necessary information is missing, it can be added here.
Once you’ve set up the delivery address information and confirmed the correct data, click the top tab for Delivery Fees.
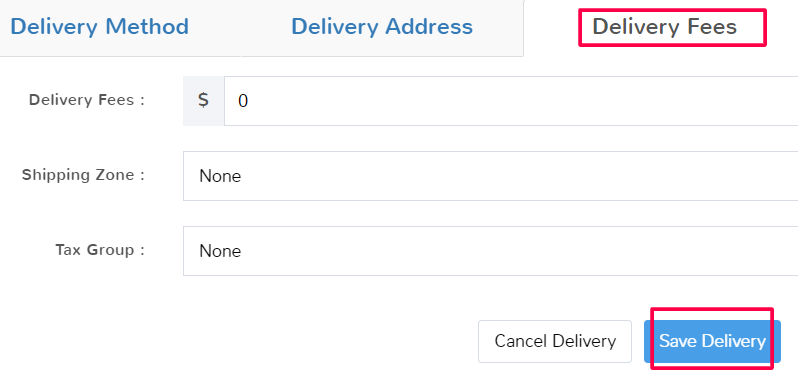
There are three fields for possible delivery fees, none are required.
Delivery Fees
This is a flat amount that you can enter that will automatically be added to the total amount due on a sale.
Shipping Zone
This provides a dropdown for all the available shipping zones that you have added for your stores. Shipping zones can be set up in Store Config.
Tax Group
This provides a drop-down list for all the available tax groups you have created for your stores. This will apply the tax group to the sale amount total. So if you have a sale total of 50 dollars, plus 10 dollars shipping fee and add a tax group of 10%, your total will be 66 dollars. For more information on taxes and setting up tax groups see the documentation here.
When you have finished entering all the information for a delivery, click Save Delivery in the bottom right.

Deliveries can be edited before the completion of a sale by clicking the Delivery button, which will now have a blue checkmark, again.
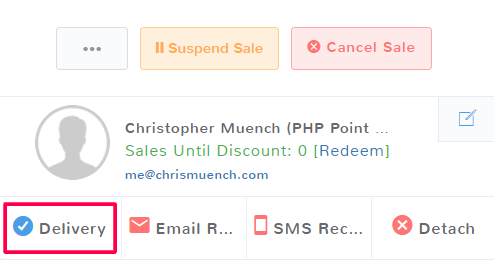
Deliveries can easily be removed from a sale by clicking the Delivery button and then selecting Cancel Delivery at the bottom of the page.

When you complete a sale, the delivery will be finalized and saved in the system. If you do not complete a sale, then the delivery will not be finalized and appear in the delivery section for viewing and editing.
Manually Create a Delivery
If you choose to make a sale into a delivery, you will not need to manually create a delivery for a customer. If you are creating a delivery that is not associated with a sale, follow the steps below.
Navigate to the Deliveries main feature page.

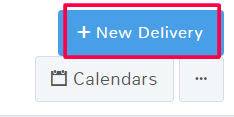
Once the page opens, click the + New Delivery button in the top right.
This opens the Delivery Information page where you can fill out all of the delivery details. Any field in red is a required field.
Delivery Employee
Click the dropdown and you can see all of your active store employees to choose from. You can also start to type an employee’s name and then select them from the dropdown.
Status
Click to see the dropdown of status options for your delivery. For more information on creating and managing delivery statuses, see the documentation here.
Category
Click to see the dropdown of category options for your delivery. For more information on creating and managing delivery categories, see the documentation here.
Duration
Here you can enter the amount of time the delivery is expected to take. Click the dropdown to see the available time estimates and select the appropriate one.
Location
By default, the location the employee is signed in at will populate this field. Click to see the dropdown of other store locations if you do not want to use your current location.
Name, Contact Information and Address
This information is for the customer that the delivery is for. The name of the customer, methods to contact them as well as the delivery address will all be entered here.
Tracking Number
If the delivery is not being performed by an employee, then you may need to enter a carrier tracking number for your records for the items.
Comments
Additional information that could be needed about the delivery can be entered here.
Is In-Store Pickup
In-store pickups can only be created through a sale, this field will autofill with No.
Shipping Provider
This field can only be filled out for deliveries created through a sale and will not be able to be changed.
Shipping Method
This field can only be filled out for deliveries created through a sale and will not be able to be changed.
Estimated and Actual Dates for Deliveries
For record-keeping purposes, you can mark when you expect deliveries to ship and be received by customers as well as when they actually do. Click inside the field to see the calendar and clock feature, see the documentation here for more details on how to select dates and times.
Add Files
Here you can add up to five files of any type to associate with the delivery. Click Choose File to upload a file from your device.
Enter item name or scan
You can associate items with a manual delivery so that your inventory counts stay correct. Start typing an item name and select the appropriate item from the dropdown or click in the field and scan an item’s barcode.

Items can be removed by hitting the x to the left of the item name. You can edit the quantity of an item by clicking on the quantity number and adjusting the amount.

When you’re done creating a delivery, select Save in the bottom right.
View Deliveries
When you navigate to the main deliveries page, you can view all deliveries in a list view.

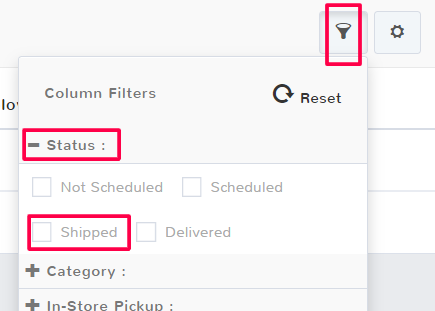
To make things easier, you can filter which deliveries show in the queue by the following information:
-
- Status
- Category
- In-Store Pickup
- Shipping Date Ranges
- Delivery Date Ranges
- Location
- Deliveries with/without Sales
Locate the funnel icon near the top right and you will see the different filtering options. You can uncheck filtering options at any time.
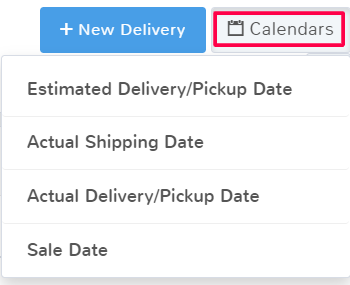
Sometimes you may want to see the deliveries that go out more visually on a calendar. To do this, select Calendars in the top right corner. A drop down menu will show all of the different calendar views you can use.
Delivery Calendar Types
Estimated Delivery/Pickup View
Any delivery that has an estimated delivery or pickup date will display on the calendar on the applicable date.
Actual Shipping Date View
Any delivery that has been updated with an actual ship date will display on the calendar on the applicable date.
Actual Delivery/Pickup Date View
Any delivery that has been updated with an actual delivery/pickup date will display on the calendar on the applicable date.
Sale Date View
Every delivery’s original sale date will display on the calendar on the applicable date.
Delivery Calendar Navigation and Options
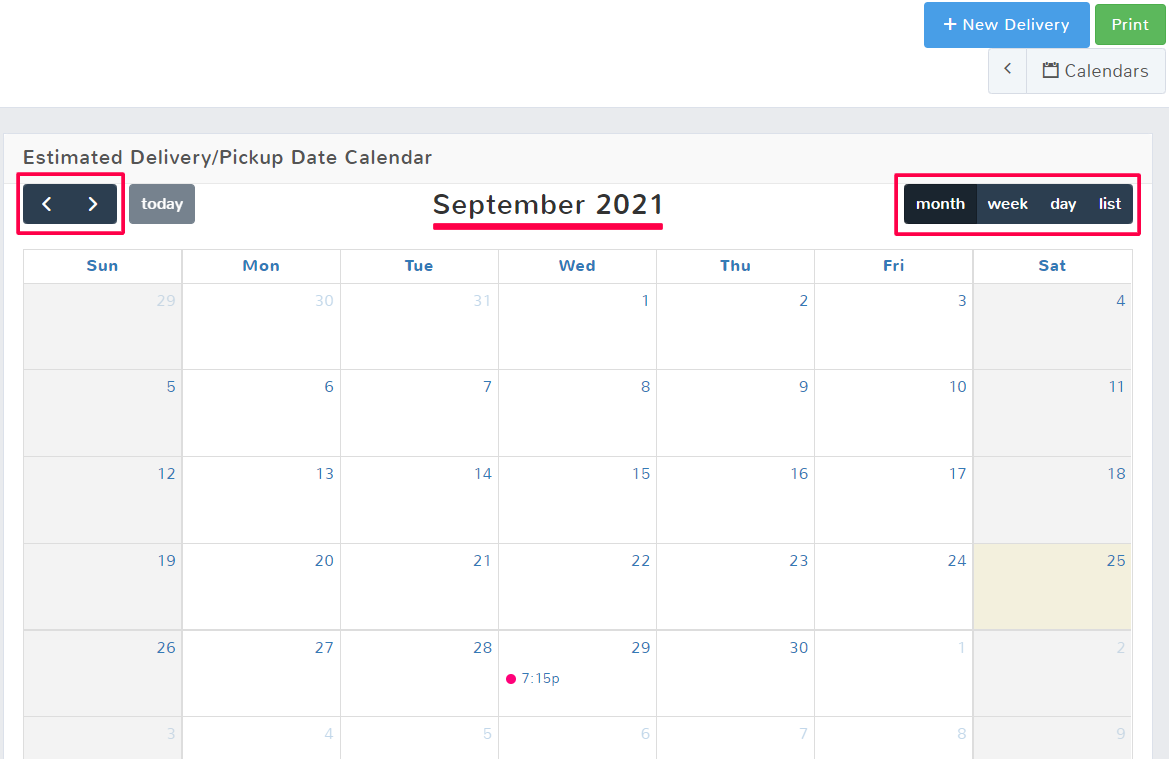
In the top right of the different calendar views, you can select how much time displays at once. You can choose to view an entire month, view one week, view an individual day, or view a list for the current day.
Deliveries that fit the criteria for that day will display with the time for the option shown as well. For example, if you are in the Estimated Delivery calendar, and you set the status of delivery for 7:15 pm on September 28th, then it would display like the example above.
To move between months, weeks, and days, utilize the right and left arrows in the top left of the calendar view.
You can edit deliveries from the calendar view by clicking on them. A pop up will open with two tabs where you can view and edit Delivery Information as well as Delivery Items.

Printing Delivery Calendars
To print out a calendar view, click Print in the top right of the view.
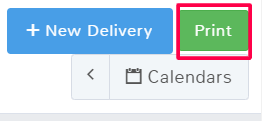
This will open up a dialogue box where you can select your printer, or choose to save the calendar as a pdf on your computer.
Update and Edit Deliveries
There are two different ways to go about editing delivery information. You can edit delivery information when editing a sale and you can edit delivery information through the deliveries feature.
If you need to change things such as shipping carriers, zones, or fees, you have to edit a delivery through sales.
If you only need to make quick changes such as to the delivery status or category, you can manage edits through the deliveries feature in a faster manner. Note this is the only way to make updates to a delivery that was manually created.
Update Deliveries Through Sales
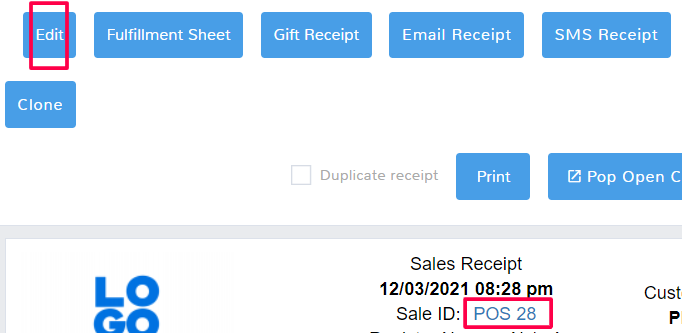
First, you will have to look up the sale that the delivery is associated with and open the sales receipt. Information on sales receipt lookup can be found here.
Click Edit in the top left of the sales receipt.
First, you have to locate the sale the delivery is associated with. Navigate to the Sales main feature page.
On the sales screen, click the Delivery button, which will now have a blue checkmark.

The delivery panel will open and all of the information can be changed or edited as needed. Make sure to select Save Delivery to keep any changes made.
Change Deliveries in Deliveries Feature
Navigate to the main Deliveries feature page.

Locate the delivery that you need to update or edit. You can search for the delivery or use the filter feature to find your delivery faster.
Click Edit to the left of the applicable delivery. Everything except the shipping provider, shipping method, and whether the record is an in-store pickup or delivery can be changed.
When you’re finished click Save in the bottom right to save your changes.
Delete Deliveries
There are several ways that you can delete a delivery, which one you choose will depend on the reason you’re removing the information.
- You can delete a sale, this will delete any associated deliveries. For information on how to delete a sale, see the documentation here.
- You can edit a sale to cancel the associated delivery. This will automatically remove the delivery from the queue. Follow the directions for Update a Delivery Through Sales and select Cancel Delivery instead of Save before completing the sales order again.
- You can delete a delivery from within the deliveries feature, directions on how are below.
Navigate to the main Deliveries feature page.

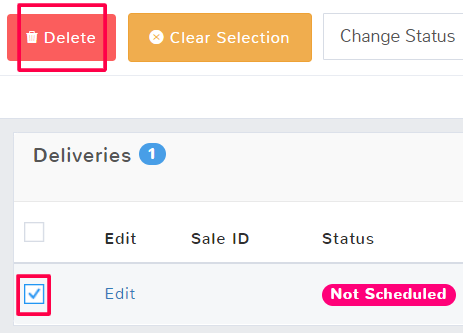
Locate the delivery that you need to delete. Select the delivery and in the menu above the queue select Delete.
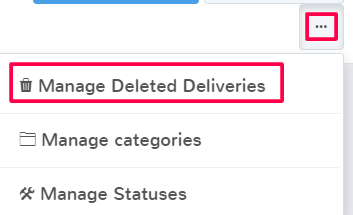
If you delete a delivery by accident in the deliveries queue, you can recover the information. In the top right click the ellipses (…) and select Manage Deleted Deliveries.
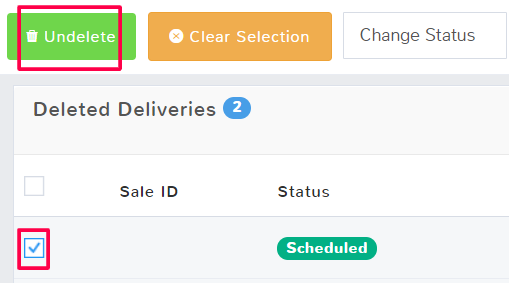
The Deleted Deliveries page opens. Select the delivery and in the menu above the queue select Undelete.
When you’ve finished, click Done to return to the main feature page.
Note: If you deleted a delivery by canceling the delivery in a sale, or by deleting an entire sale, you will not be able to undelete the delivery.

