Introduction
Permission templates allow you to create a set of permissions that can be applied to an employee. This is helpful if you have different roles in your stores, such as Managers and Cashiers, who will always need access to the same software features.
For example, cashiers may need to add and update customers and search for customers but are not allowed to do things like delete customers or edit a customer’s store account balance. Rather than having to select those options for each employee who is a cashier, you can create a Cashier permission template and apply it to all applicable employees. If individual employees need adjustments, that can be done in their employee record on an exception basis.
Permission templates make it easier for you to create employees and to make sure that everyone has access to the things they need in the software.
In This Article:
Create a Permission Template
Navigate to the Employees main feature page.

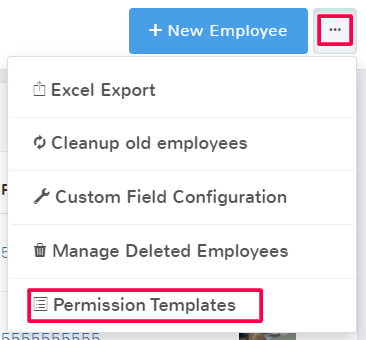
In the top right click the ellipses (…) to see more options and select Permission Templates.
In the top right select + New Permission Template.
Give your permission template an easily recognizable name. For example, if you’re making a set of permissions that should be standard for a specific role, like a manager, consider naming the template Manager Permissions.
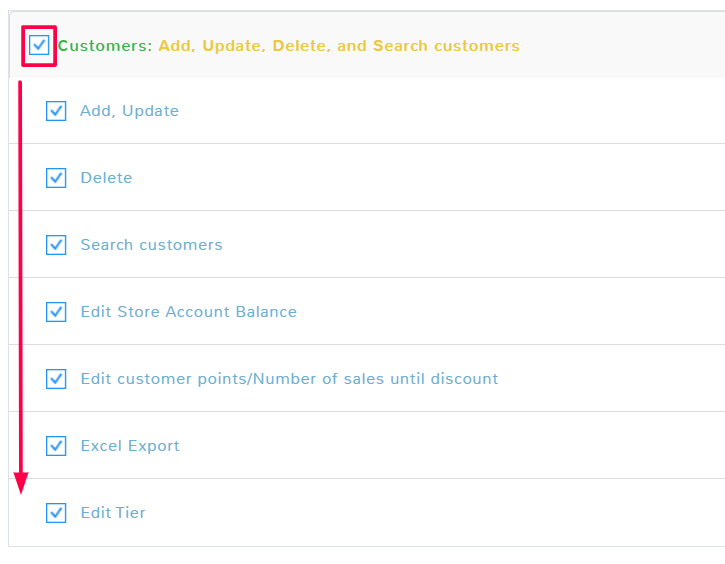
Select all of the applicable permissions you want to be applied to the template. Remember if you check the box at the top of a section, it will select all of the different permissions in that set.
When you’re done, click Save to create your template.
Edit a Permission Template
Navigate to the Employees main feature page.

In the top right click the ellipses (…) to see more options and select Permission Templates.

Find the template you wish to change permissions for and select Edit.

There will be an option to Update All Employees With Template Assigned. If you check this box, then any changes that you make in the template will automatically be applied to any employees who had the permission template assigned to them. This means that you will not have to go through and update each of their permission settings individually.
Keep in mind that this will make employee permissions match exactly with the new template you have created. If you had added additional permissions to an employee, they will be removed if a template they were assigned is updated so that permissions match exactly the new template.
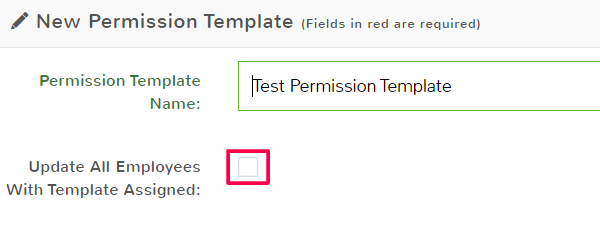
If you leave this unchecked, then the changes you make to the template will only apply when the template is first applied going forward.
Delete a Permission Template
When you delete a permission template, any employee who had already been created with that template assigned will still keep all of the permissions that they had assigned to them. The employees permissions will have to be manually removed or changed.
Navigate to the Employees main feature page.

In the top right click the ellipses (…) to see more options and select Permission Templates.

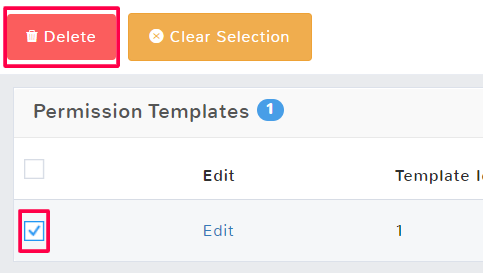
Find the template you wish to delete and click the checkbox to select the template. You can select multiple rows if you want to delete more than one customer at a time. Above the template list, there will be an option to Delete the template.
A popup will confirm you want to delete customer information. Click OK to delete the customer.
If you have deleted a customer by accident, this can be undone. In the top right click the ellipses (…) to see more options and select Manage Deleted Permission Templates.

To reactivate a permission template and remove it from the deleted section, click the checkbox to highlight the row. You can select multiple rows if you want to do more than one at a time. A menu will populate above the deleted permission template list, and select Undelete.
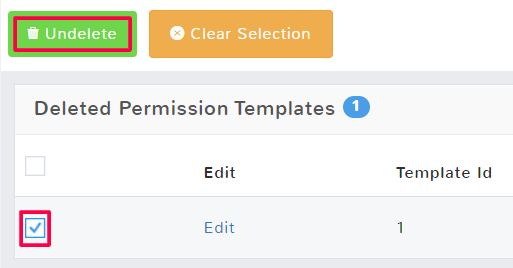
Click Done to return to the permission template page.

