Importing or exporting records to and from spreadsheets is easier than ever and makes migration from other systems manageable.
Importing Items
To Import Items go to the Items View and then click the more button (“…”) and select Excel Import.

Select Import Items from the “…” dropdown menu
Step 1: Download Speadsheet Template & Upload File
A. Download a Spreadsheet template file:
- Existing Items (includes all existing items)
- New Items (blank)
B. Make modifications to the spreadsheet and upload the file.
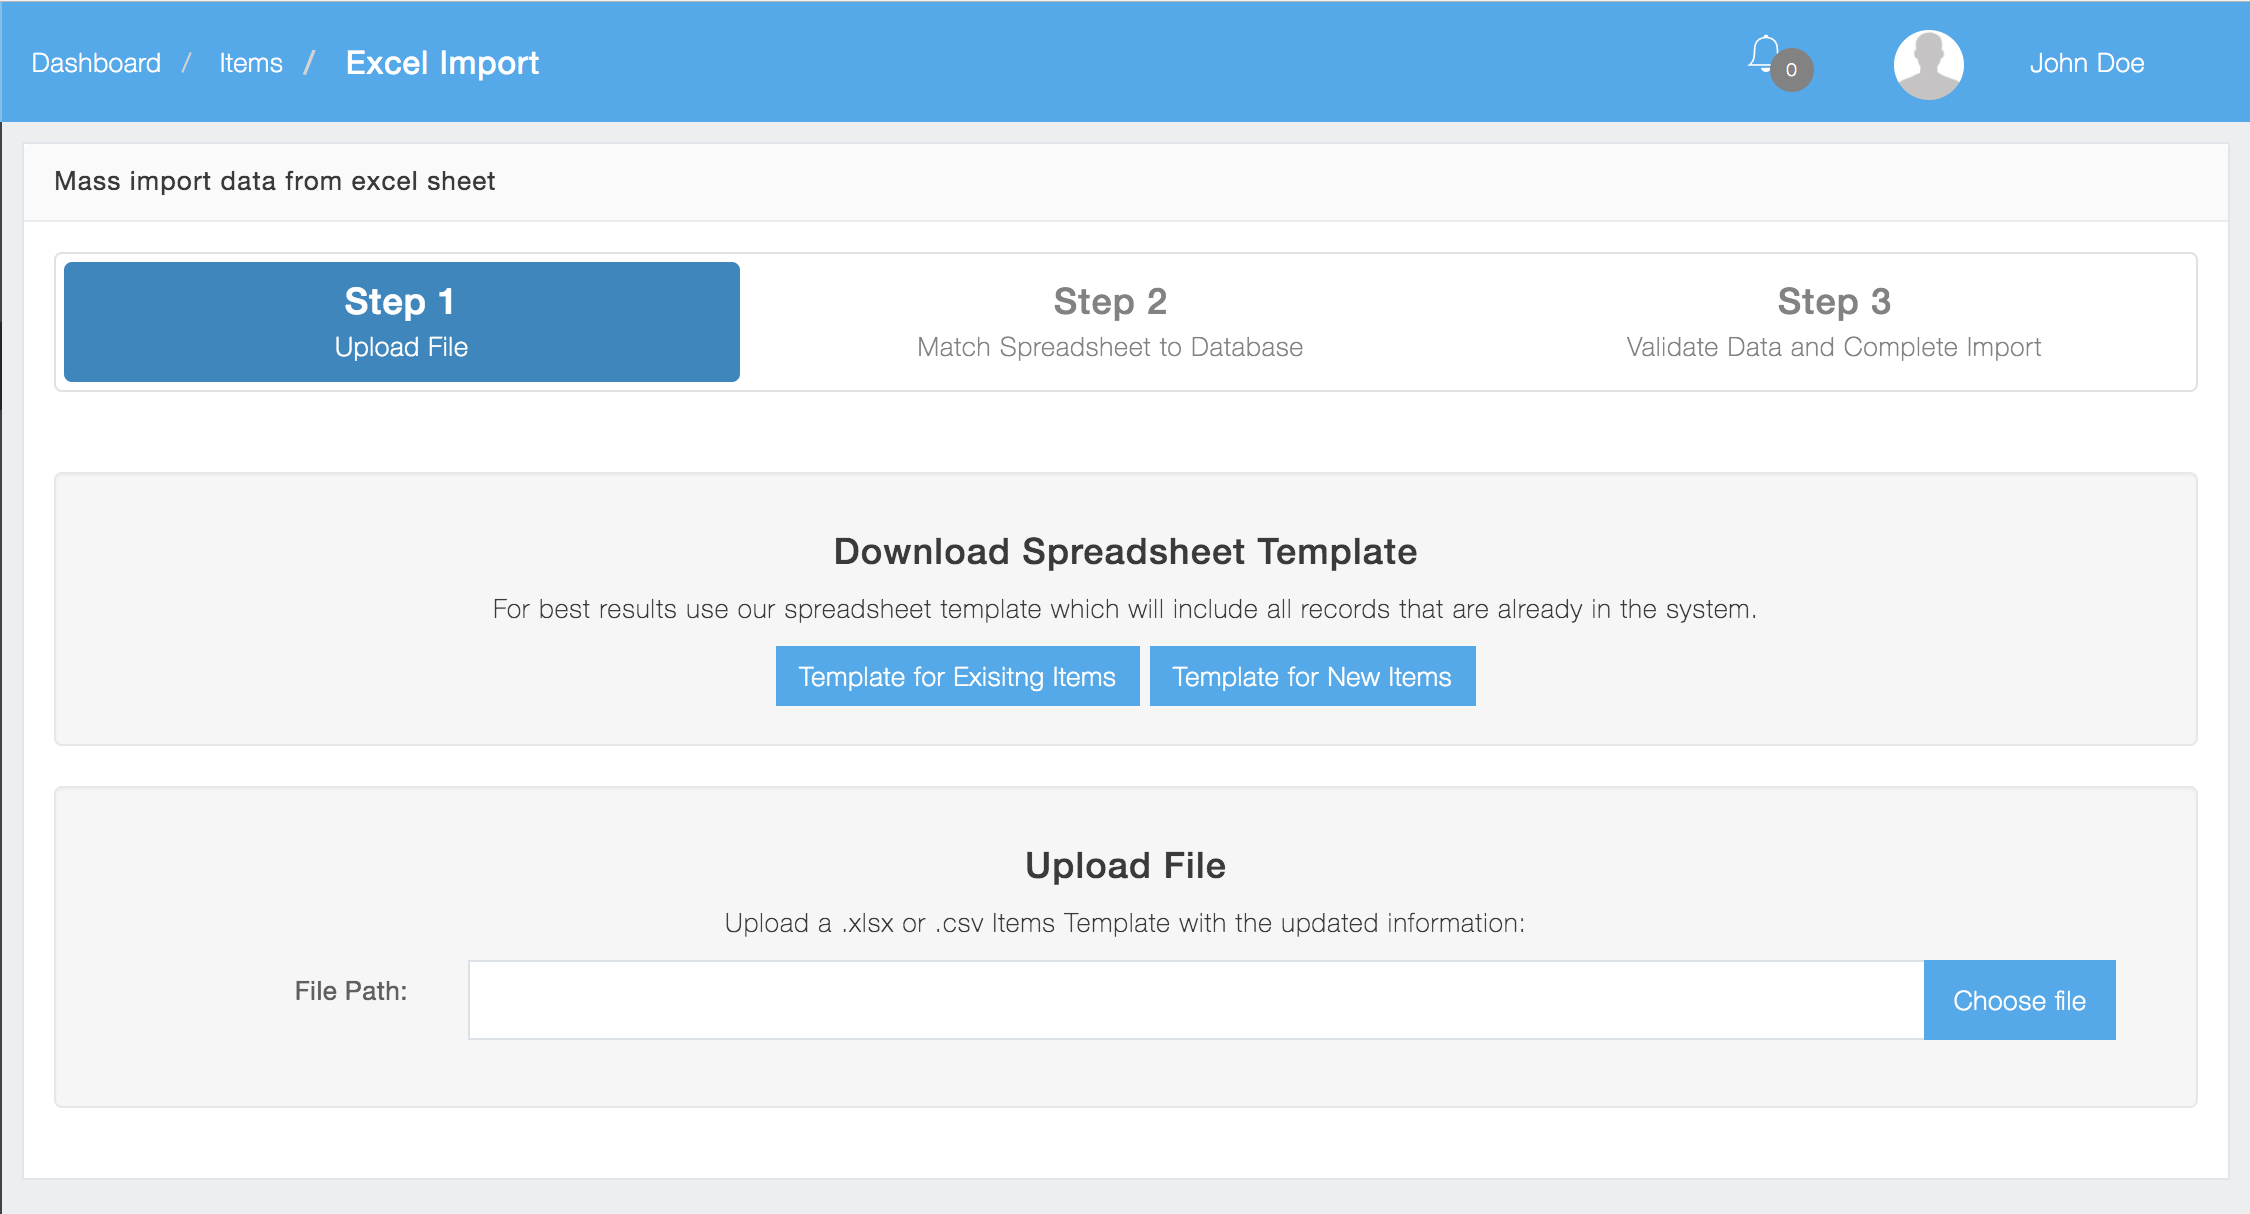
Download/Upload file
Step 2: Match Spreadsheet Columns to the Database (optional)
By default the system will automatically recognize the names of the columns and match them to the database.
Click “yes”

If you did not see the “Spreadsheet Column Mapping Complete” dialogue that means you are missing columns or the column names could not automatically be matched by the system.
Item Name is Required
Not all fields must be matched to the database. However Item Name is a required field and if this column is not matched to the database it will not let you proceed.
Importing Additional Item Numbers
You can now Import Additional item Numbers by putting them in the Item Number Column delimited by a “|” (pipe) symbol
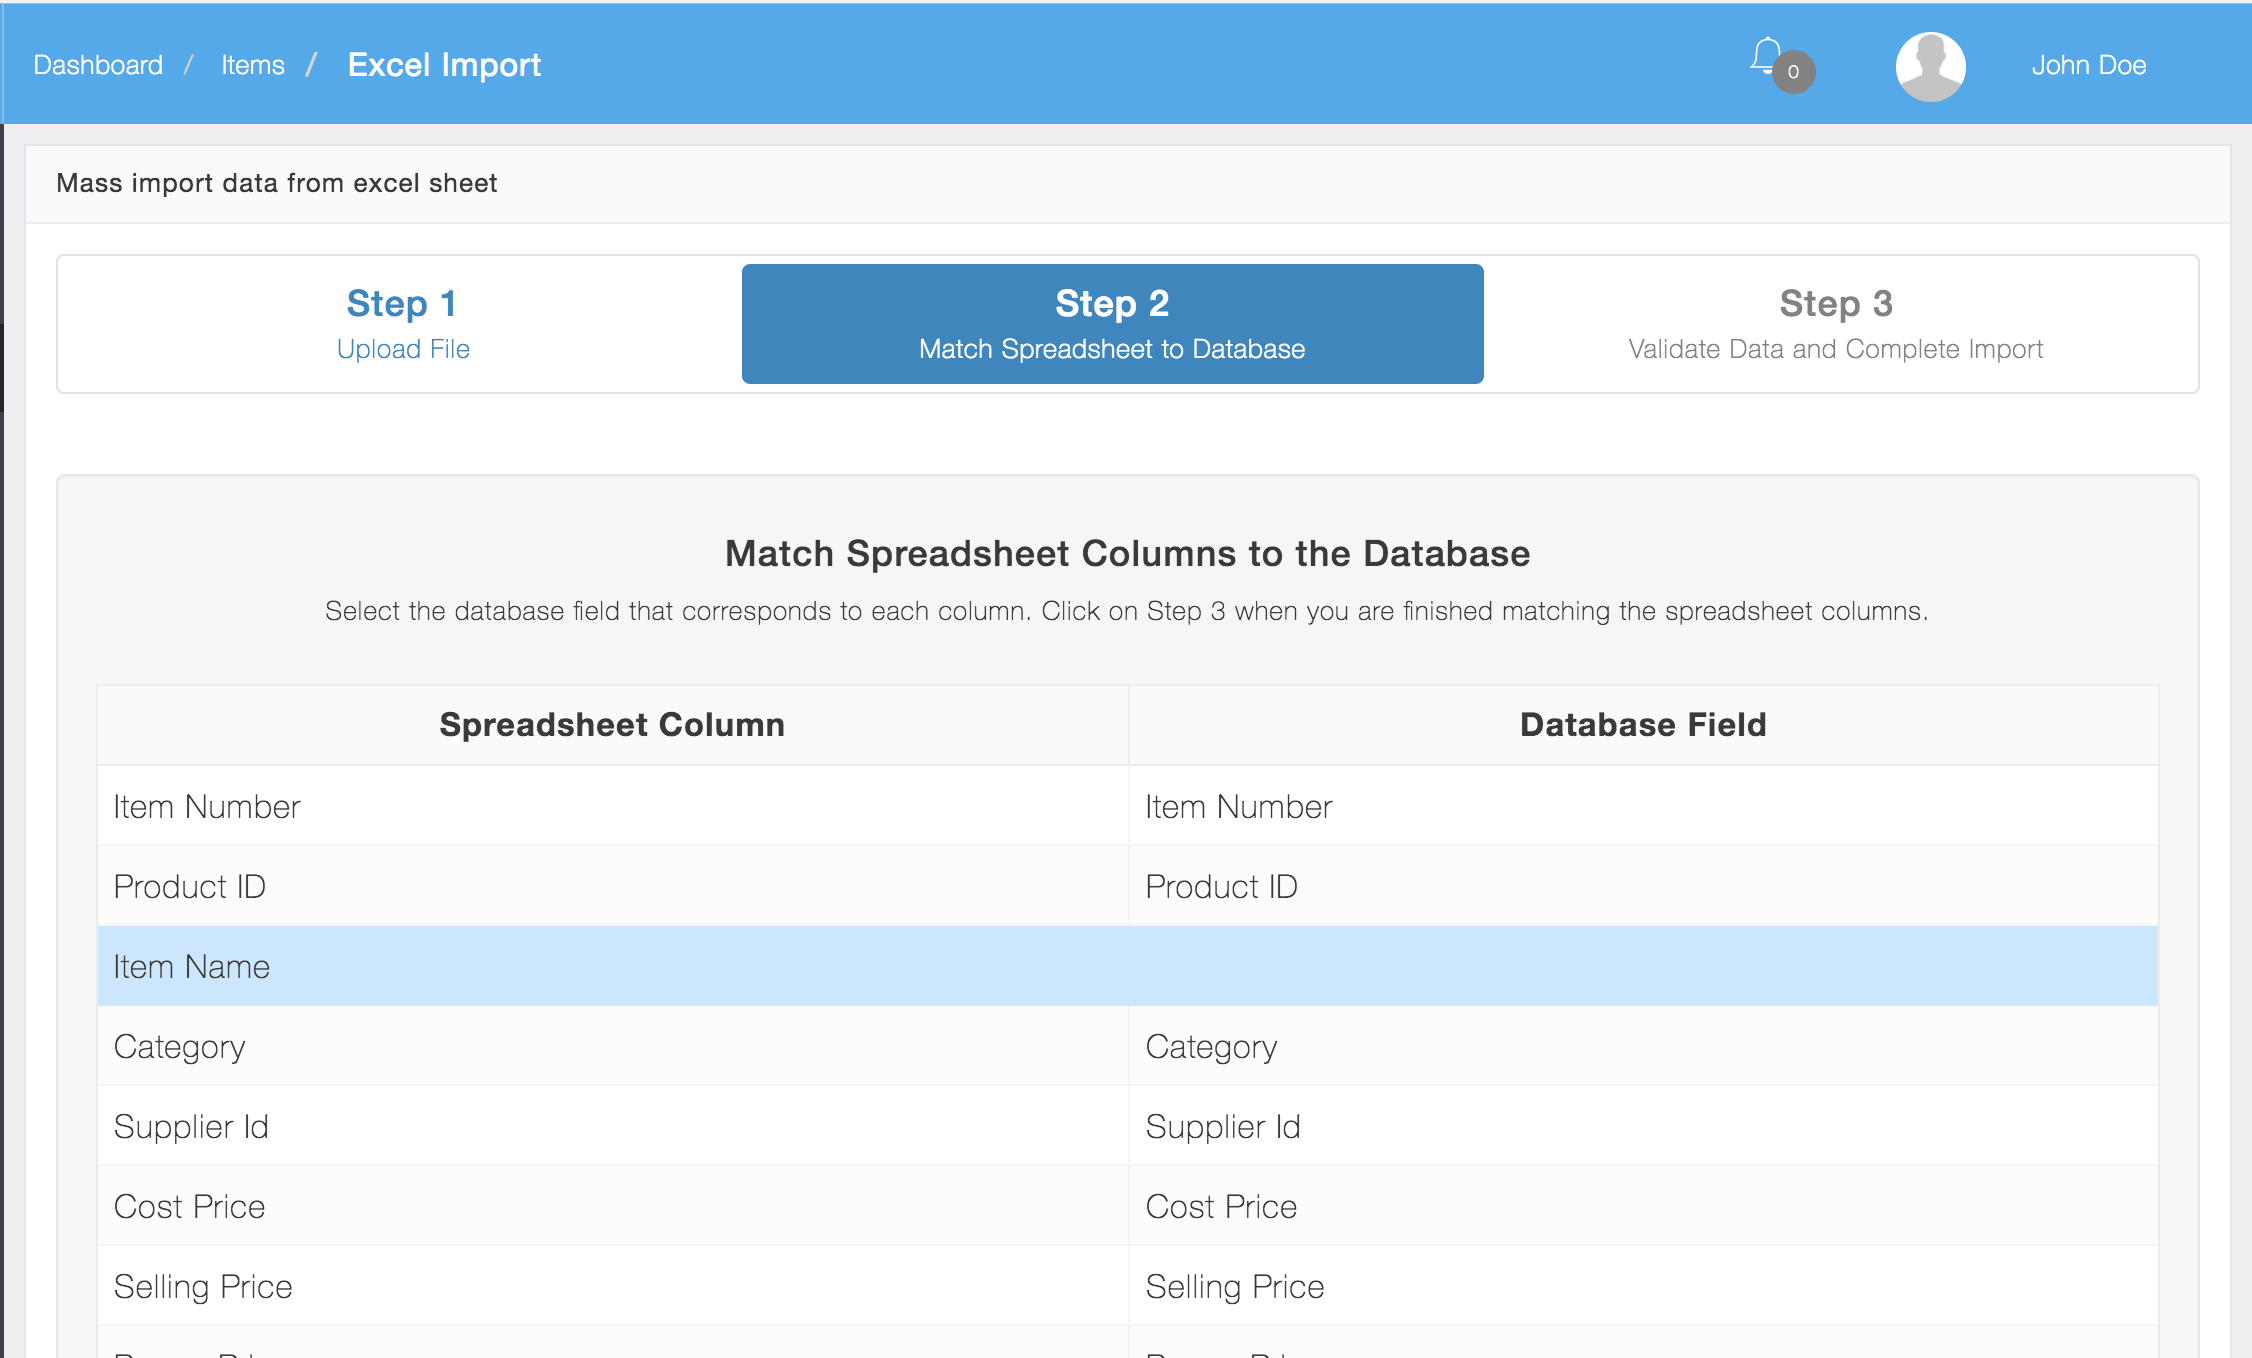
Match Required Columns/Fields
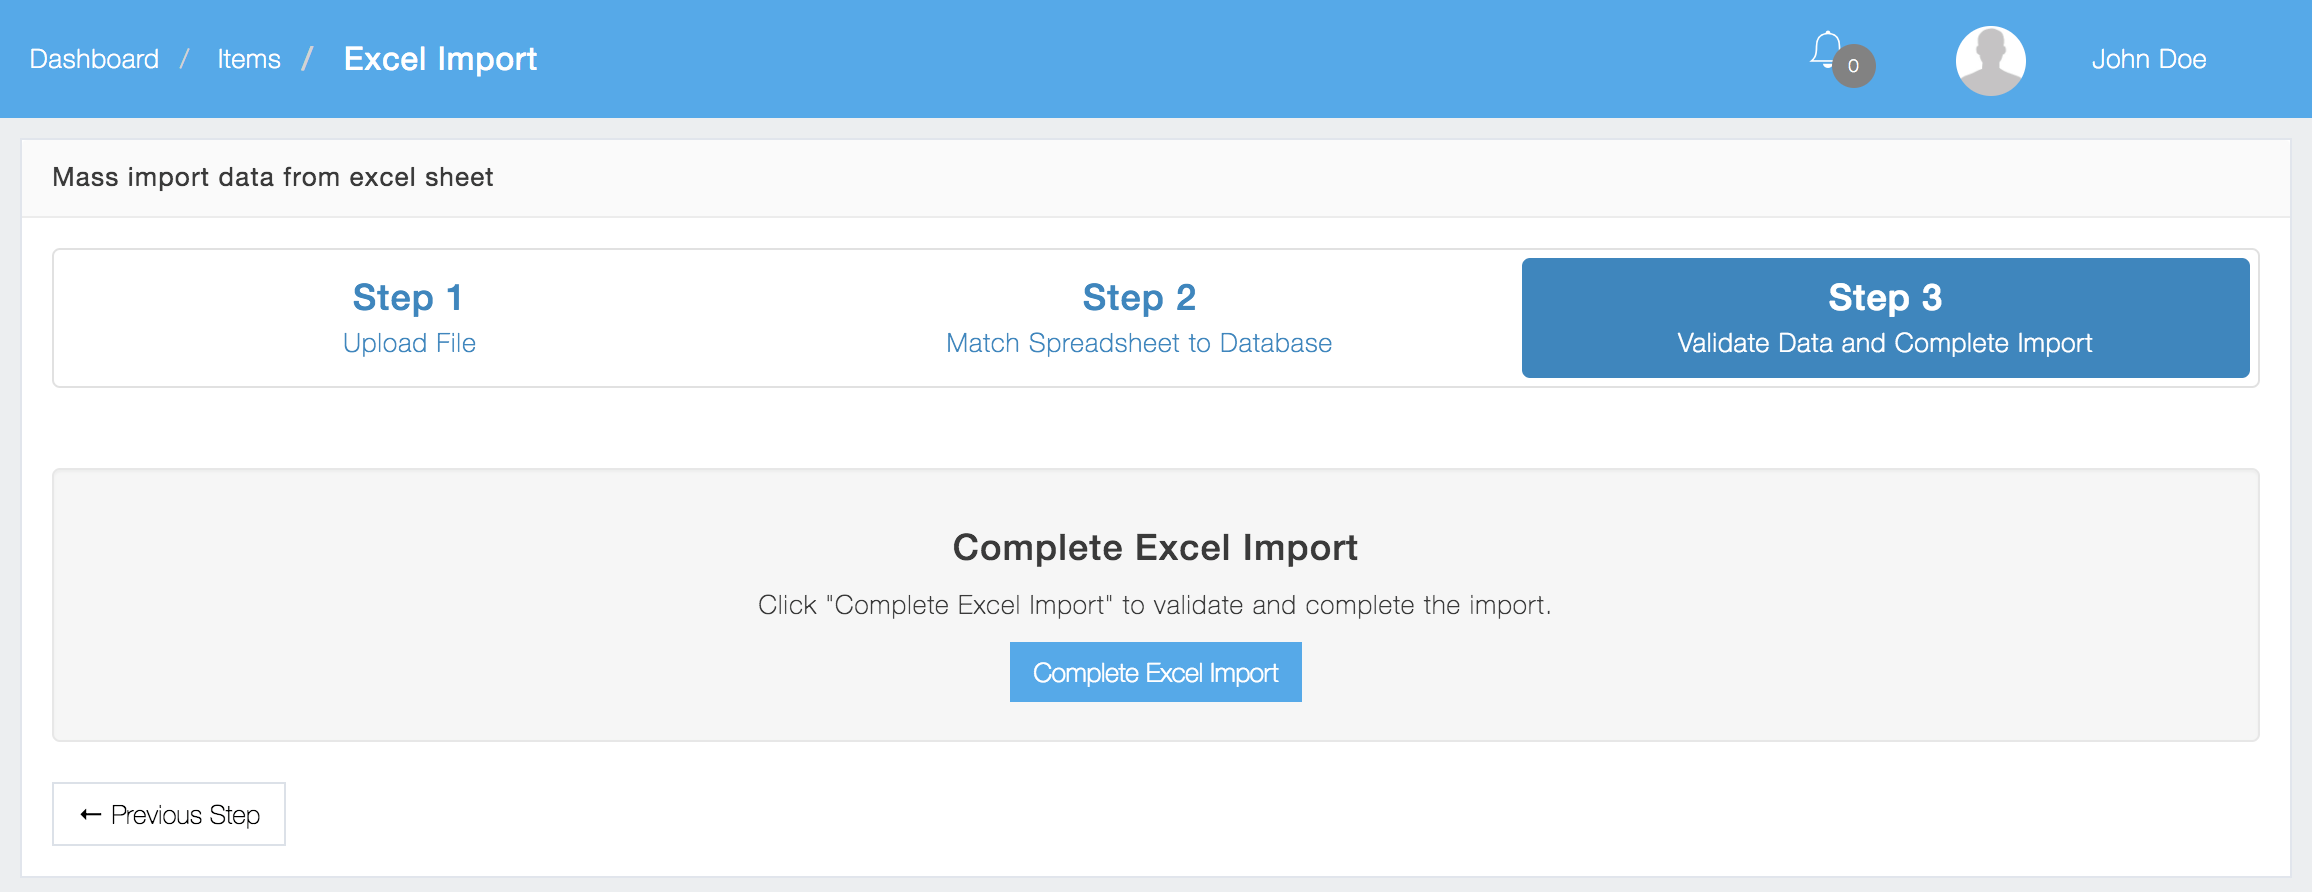
Step 3: Validate and Complete
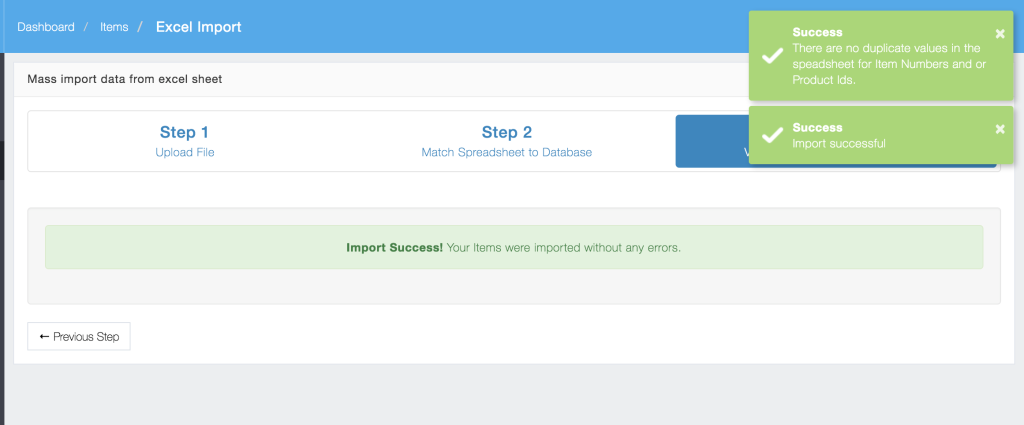
Import Successful
If the import was successful you will see this:
Warnings
The system will also provide warnings when it has to make corrections.
This can happen if:
a. you don’t specify an item id when one should have been specified
b. you are updating an item that was previously deleted.
This just means the system had to take corrective action while importing. This should not affect the outcome of the import.
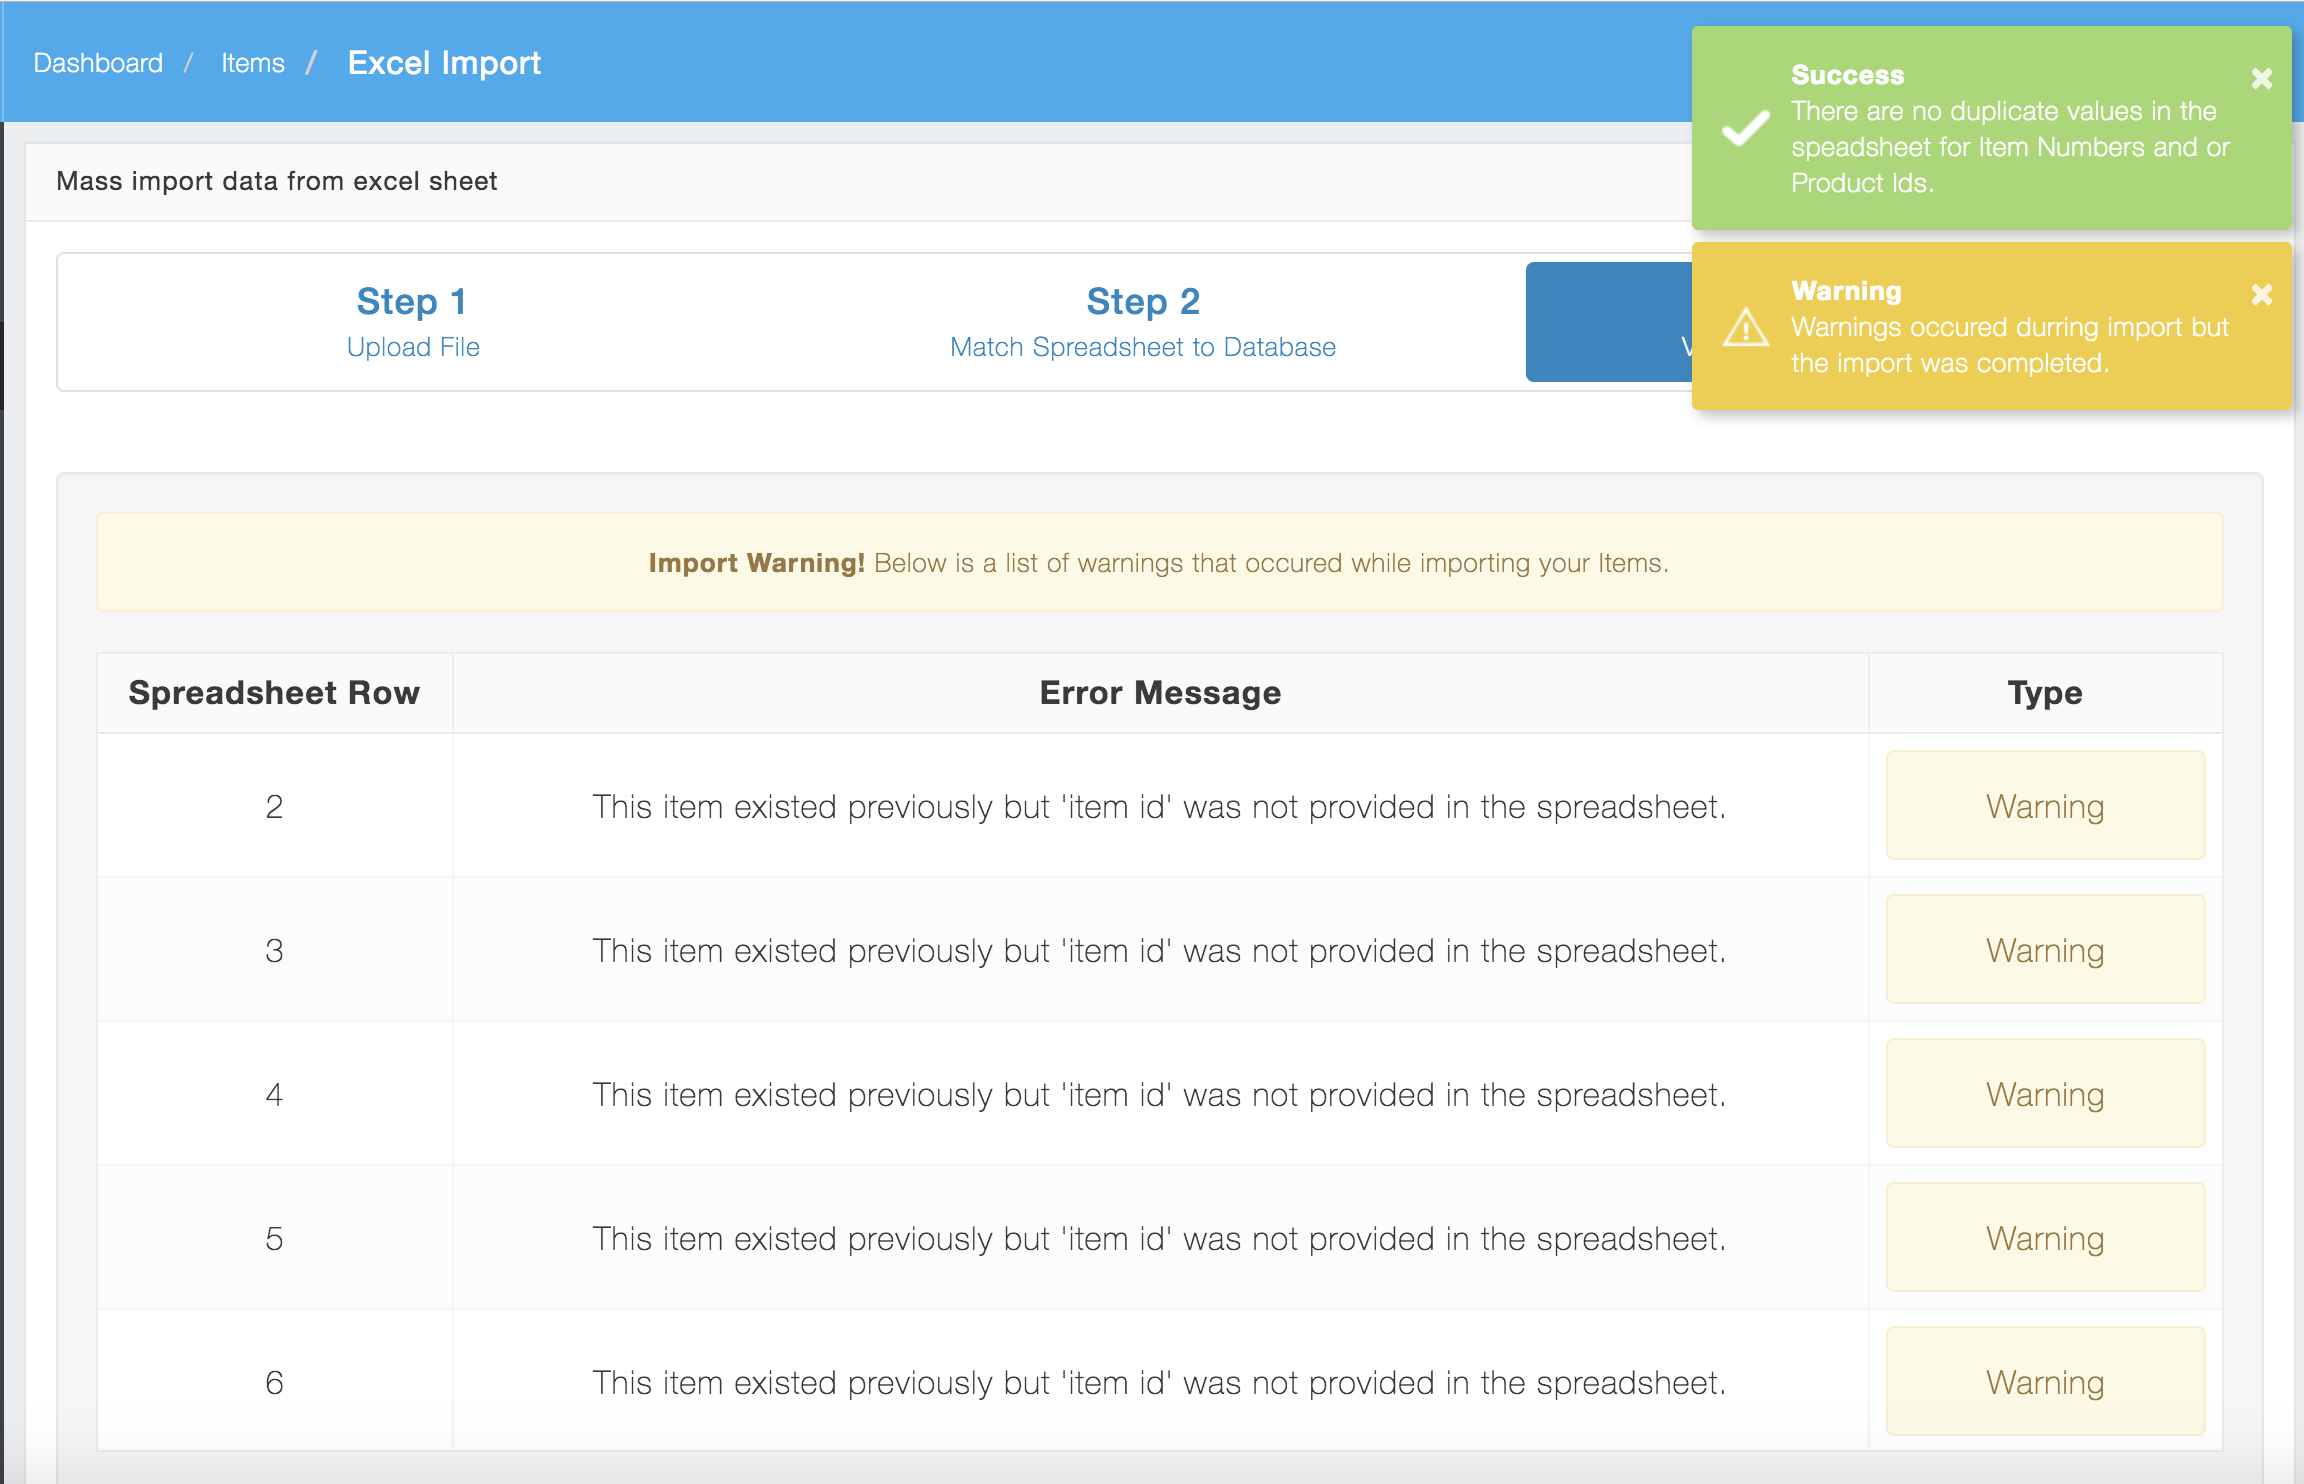
example of warnings
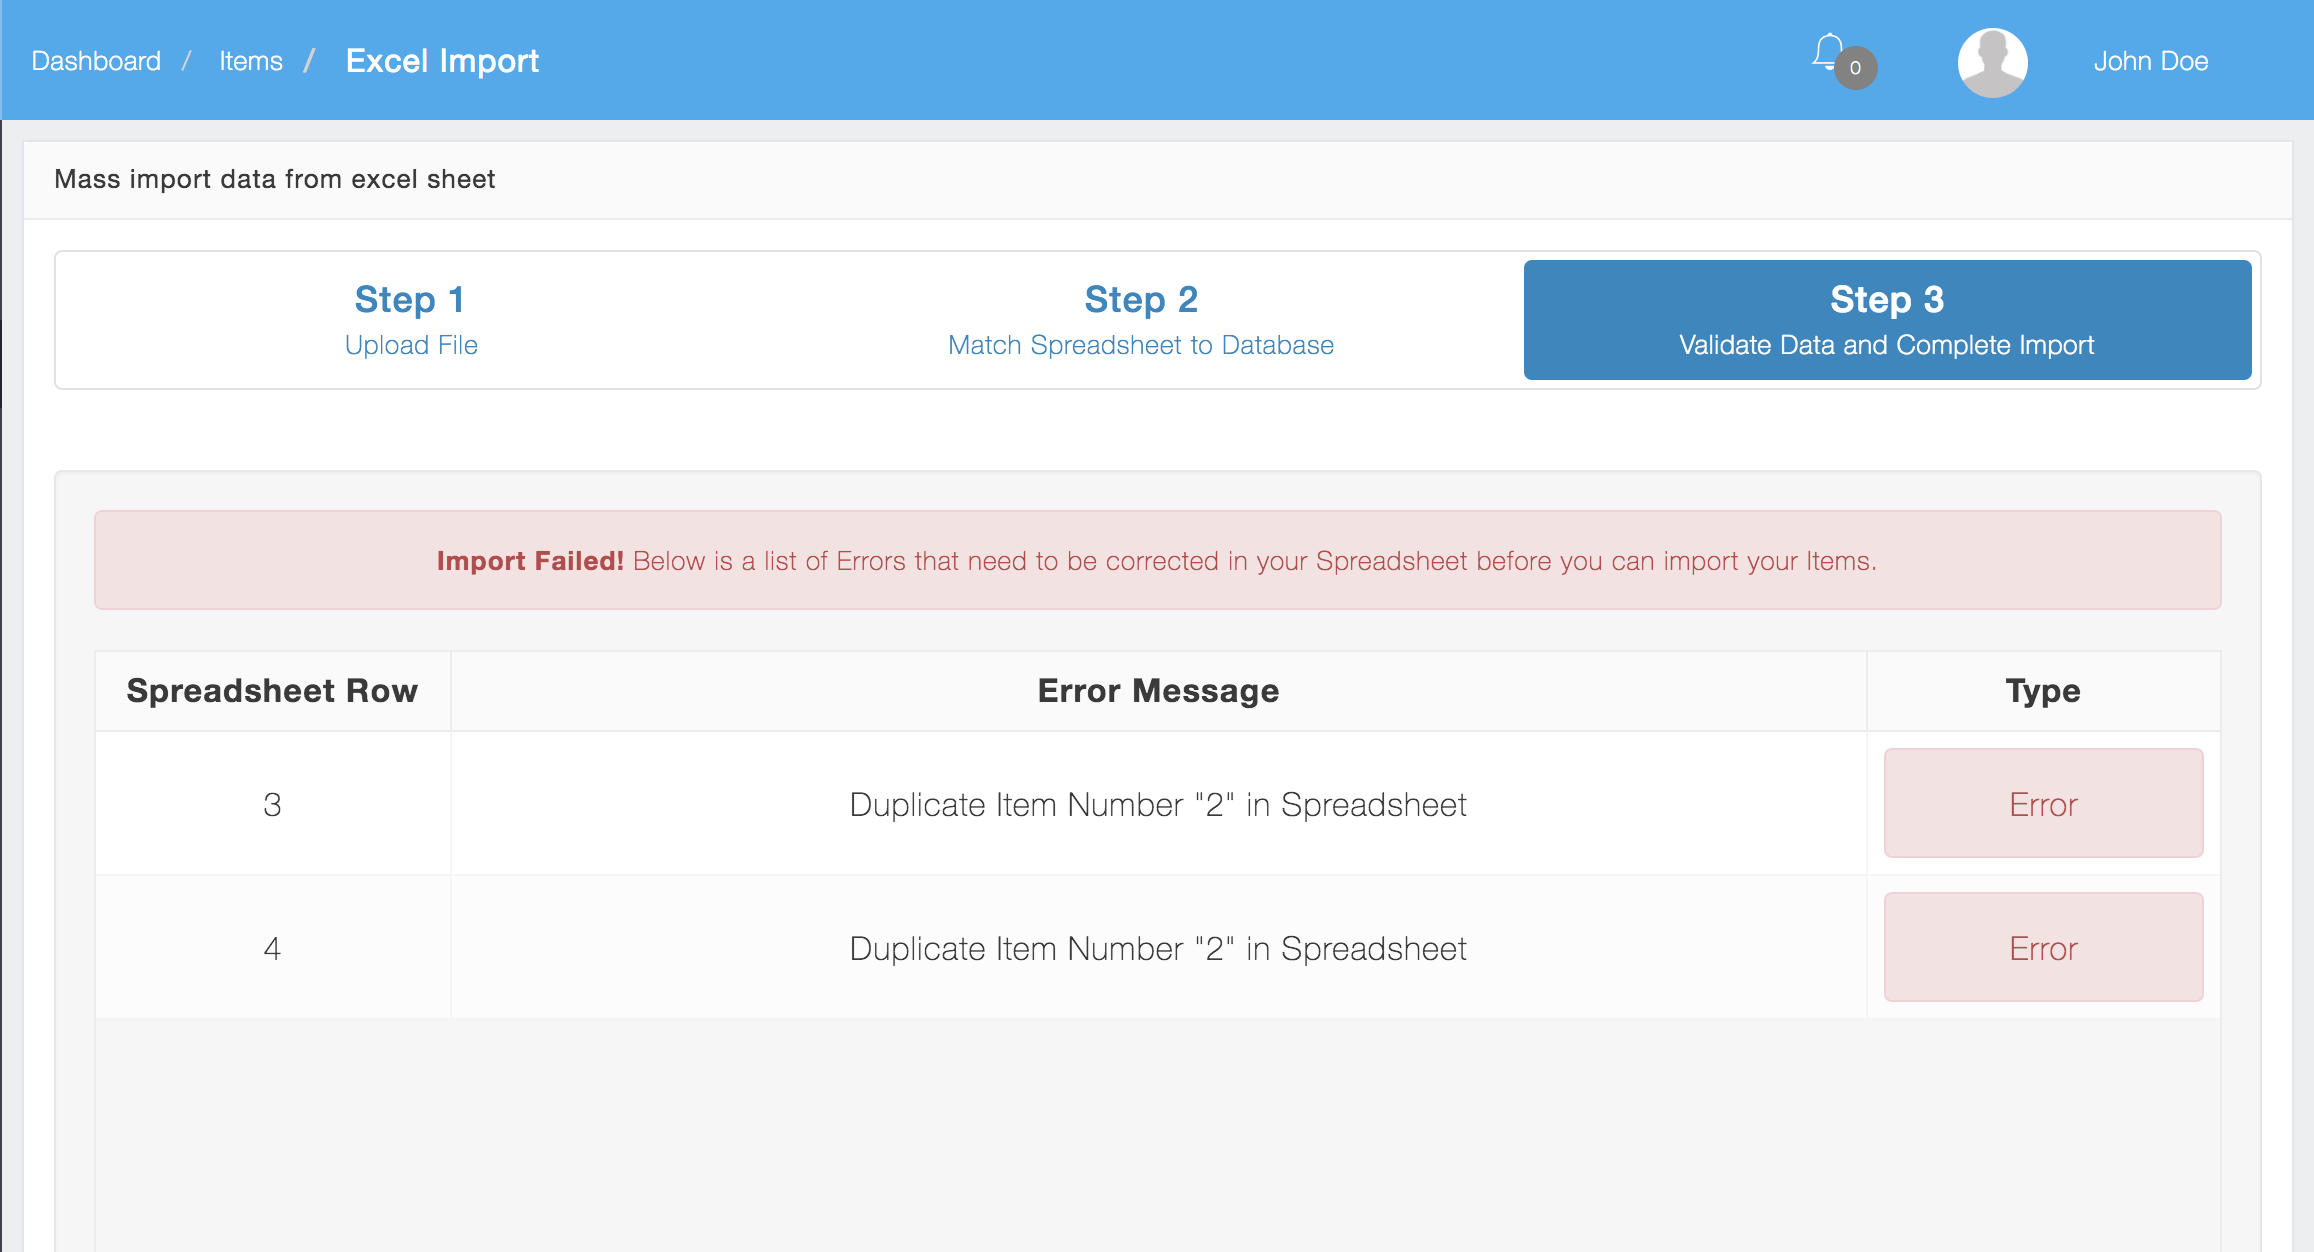
Failed to import
If the import fails it will tell you what lines in your spreadsheet need to be fixed. Errors will stop the import from finishing and roll back any changes.
Exporting Items
Go to the Items view and select “Excel Export” from the “…” dropdown menu:

Select Excel Export
An excel file will be downloaded to your default download location on your desktop.
Here is an example of an Items export:

Importing Customers
To Import Customers go to the Customers View and then click the more button (“…”) and select Excel Import.

Select Excel Import for Customers
Follow the same procedures outlined for Items.
Exporting Customers
Go to the Customers view and select “Excel Export” from the More Button(“…”) dropdown menu:
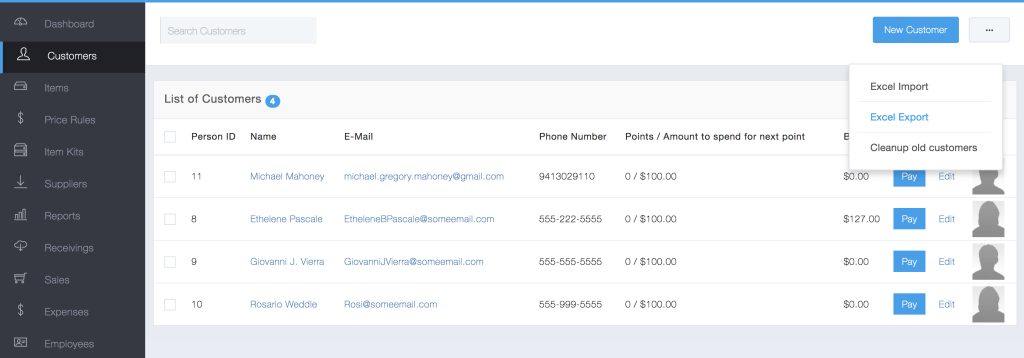
Select Excel Export for Customers
An excel file will be downloaded to your default download location on your desktop.
Here is an example of a Customer export:

Customer Export
Importing Suppliers
To Import Suppliers go to the Suppliers View and then click the more button (“…”) and select Excel Import.

Select Excel Import
Exporting Suppliers
Go to the Suppliers view and select “Excel Export” from the More Button(“…”) dropdown menu:
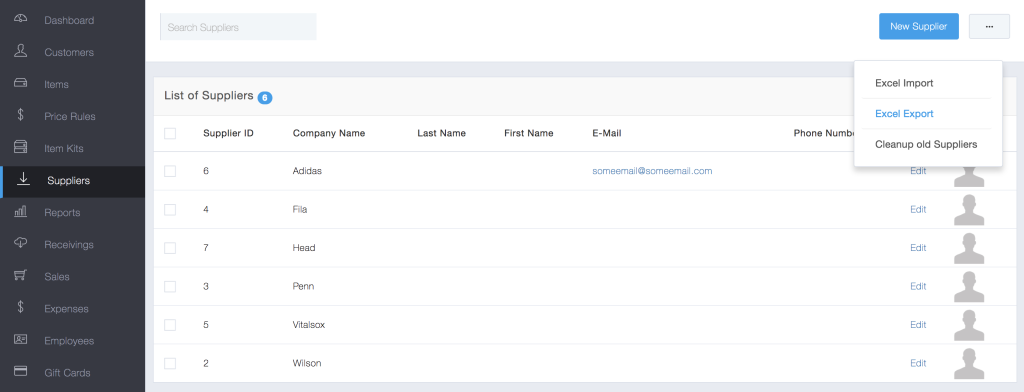
Select Excel Export
An excel file will be downloaded to your default download location on your desktop.
Here is an example of a Suppliers export:

Suppliers export
Importing Gift Cards
To Import Gift Cards go to the Gift Cards View and then click the more button (“…”) and select Excel Import.

Exporting Gift Cards
Go to the Gift Cards view and select “Excel Export” from the More Button(“…”) dropdown menu:

Select Excel Export for Gift Cards
An excel file will be downloaded to your default download location on your desktop.
Here is an example of a Gift Cards export:


